How to Change an Apple Watch Band

By Suraj Giri, Founder & Publisher. Reviewed by Suraj Giri on .
Published · 4 min read
How this page was made
- Sources. Checked against 4 official pages from Apple, most recently on . See the sources.
- No device testing. We don't test fixes on physical devices, so nothing on this page is a hands-on result. A fact counts as verified only when it matches an official source page.
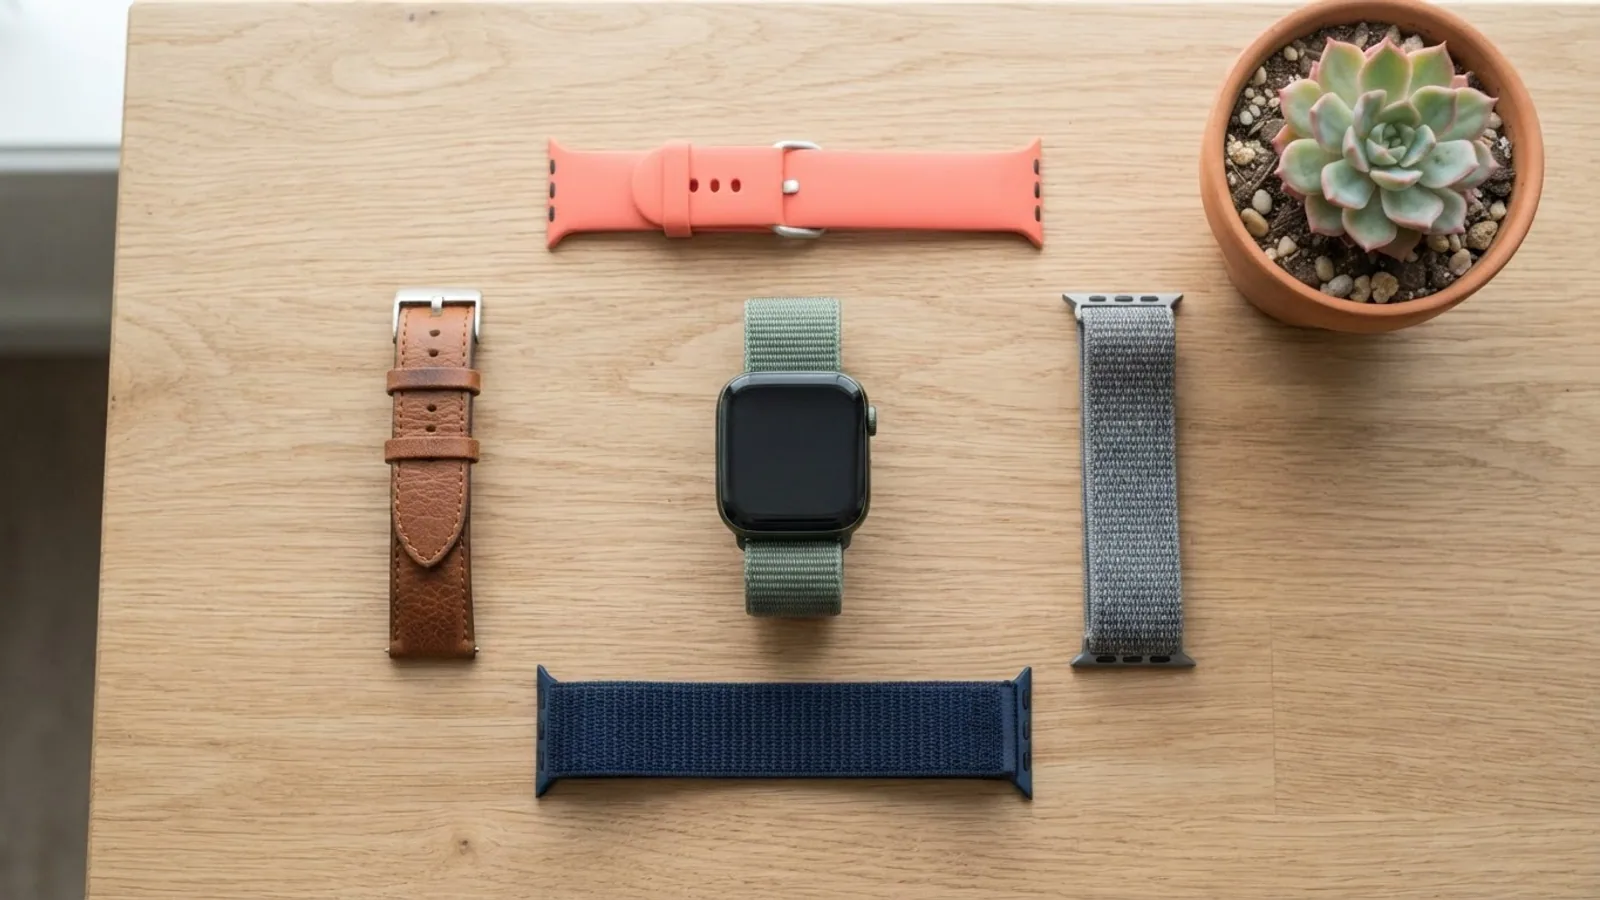
- AI use. As with every page on Gadget247News, AI tools helped research, outline, draft and edit this page, and re-read the official pages to flag facts that didn't match. The illustration at the top was generated with Runway and is labelled under the image.
- Human sign-off. Suraj Giri, Founder & Publisher, read this page and signed it off on . The site won't publish a page without that sign-off.
- Changes. The published and updated dates move only when the content changes, and every change gets a dated note. Spot an error or a fix that didn't work? Email info@gadget247news.com.
Read our AI use policy, editorial policy and corrections policy.
To change an Apple Watch band, hold down the band release button on your Apple Watch, slide the old band across and out, then slide the new band in until it clicks. For problems with the watch itself, start at Apple Watch troubleshooting.
Different Apple Watch bands use the same release mechanism, so one set of steps works for most straps. The Link Bracelet needs one extra step first, and a few bands have their own fit rules. This guide sits with our other care guides, such as How to Clean AirPods and the Charging Case.
How to Remove and Change an Apple Watch Band
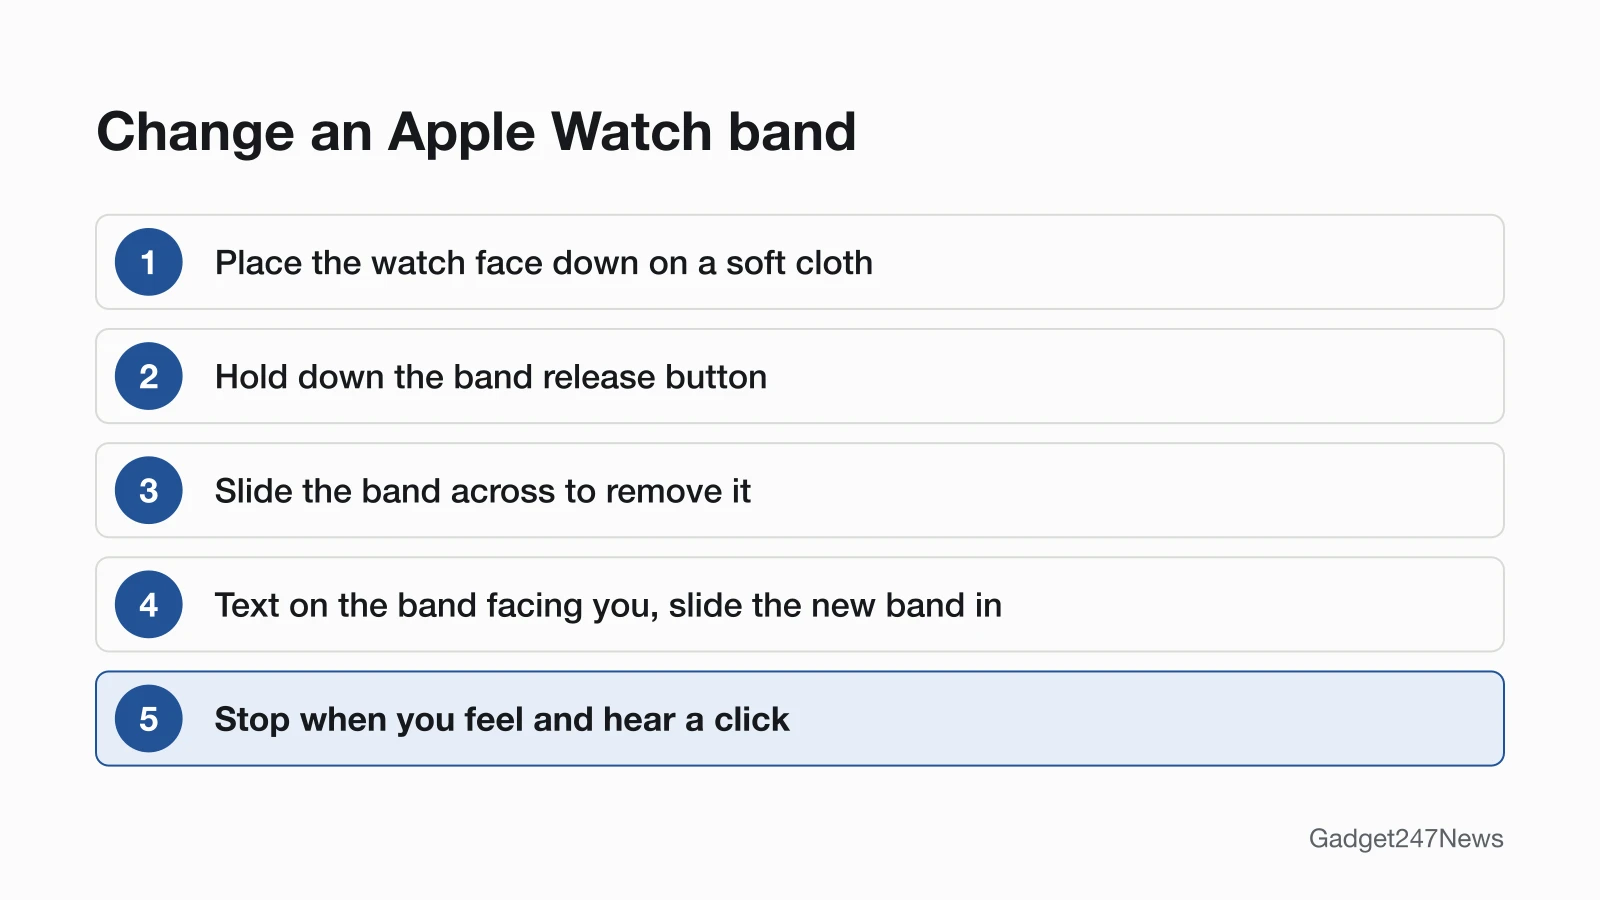
To remove and change an Apple Watch band, lay the watch face down and use the band release button:
- Place your Apple Watch face down on a clean surface, like a lint-free microfiber cloth or a soft, padded mat.
- If you have a Link Bracelet, separate it into two pieces first (steps below).
- Hold down the band release button, then slide the band across to remove it. If the band doesn't slide out, press the band release button again and make sure you hold it down.
- With the text on the band facing you, slide the new band in until you feel and hear a click.
Which Apple Watch Bands Fit Your Watch?
A band designed for another Apple Watch model fits yours as long as the sizes are compatible. Apple lists these size groups:
- Bands for 38mm, 40mm and 41mm cases are compatible with each other.
- Bands for 42mm, 44mm and 45mm cases are compatible with each other.
- Bands for 46mm cases are compatible with 44mm, 45mm and 46mm cases.
- Bands for 49mm cases are compatible with 44mm, 45mm or 46mm cases.
- Bands for 44mm, 45mm or 46mm cases are compatible with 49mm cases.
Apple Watch Series 10, Series 11 and Series 12 also come in a 42mm case, and Apple's band article doesn't say whether its 42mm line covers these newer cases. Check the case sizes a band lists against your model before you buy. To find your model and case size, use our Apple Watch model check.
How to Remove a Link Bracelet
Separate a Link Bracelet into two pieces before you take it off the watch:
- Close the butterfly closure: if it's open, fold in one side at a time until you feel and hear a click.
- Hold down one quick release button. The buttons are on the inside of the bracelet.
- Keep holding the button and gently pull the links apart into two pieces.
- Hold down the band release button, then slide the band across to remove it.
Don't force the bracelet or twist it while you remove it. Apple says these steps help you avoid damaging the band or the clasp.
Solo Loop, Milanese Loop and Apple Watch Ultra Bands
Solo Loop and Braided Solo Loop: pull from the bottom of the band to stretch it over your wrist when you put it on and take it off.
Milanese Loop: Apple redesigned it in 2018, so you can open the band completely by sliding the magnetic closure through the band connector, or lug. On earlier Milanese Loop models, the closure won't slide through the lug.
Ocean Band, Alpine Loop and Trail Loop: these are 49mm bands designed for Apple Watch Ultra and later. Before you insert one, make sure the lug is parallel to the watch case, then gently push the lug toward the case with the metal tooth facing down. Apple Watch Ultra also takes 44mm, 45mm and 46mm bands, but Apple says those sizes are for casual, everyday use only. A Solo Loop on Apple Watch Ultra might need a smaller size than you're used to, because the Ultra case is larger.
How to Check the Band Is Locked
A band that's installed properly won't slide freely until you hold down the band release button. If it slides without the button, don't wear your Apple Watch until the band locks.
Band Problems: Stuck Bands, Fit and Cleaning
A stuck band needs the release button held down and the band centered in the slot; a band that bothers your skin needs a fit and cleaning check.
Why Won't My Apple Watch Band Come Off or Lock?
Apple's fixes for a band that won't come off or won't lock:
- The release button isn't held down. Press the band release button again and keep holding it while you slide the band.
- The band is being forced. Never force a band into the slot. If you don't feel or hear a click, slide the band to the left, then to the right.
- The band still doesn't lock. Center the band and push it into place, then carefully wiggle it up and down.
If the band still slides after that, don't wear your Apple Watch.
Why Is My Apple Watch Band Giving Me a Rash?
A band that's too tight can cause skin irritation, and one that's too loose can cause rubbing, Apple says. Keep your Apple Watch, the band and your skin clean and dry, especially after workouts or contact with sweat, soap, sunscreen or lotion. Some parts contain nickel, and some bands contain trace acrylates and methacrylates from adhesives; Apple lists which on Wearing your Apple Watch. If you get redness, swelling, itchiness or other irritation, Apple says you may want to consult your physician before you put the watch back on. For cleaning steps, see How to Clean an Apple Watch Band.
This covers device settings only and isn't medical advice.
Sources
We checked this page against the pages below, most recently on . How we verify fixes
- Change your Apple Watch band (Apple, support.apple.com)Official
- Remove and change Apple Watch bands (Apple Watch User Guide) (Apple, support.apple.com)Official
- Wearing your Apple Watch (Apple, support.apple.com)Official
- Identify your Apple Watch (Apple, support.apple.com)Official